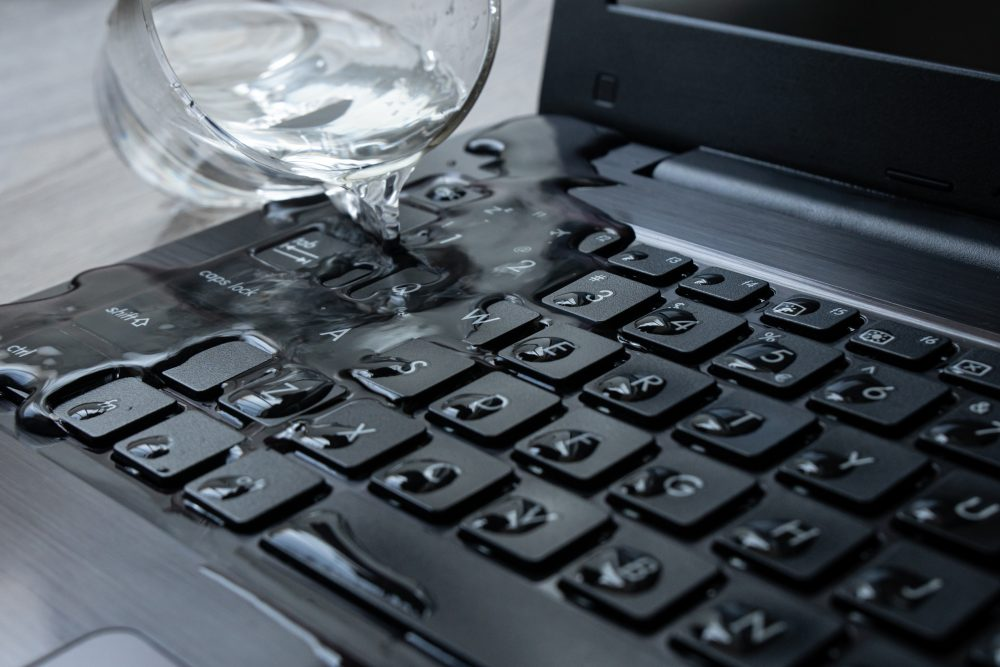
So, you’ve accidentally spilled water (or maybe coffee?) on your laptop. I know it’s stressful, but the good news is that your laptop might still be salvageable if you act quickly. Let me walk you through what you need to do, step by step, when dealing with computer spill.
Step 1: Power Off Immediately
First things first, power down your laptop right away in the event of a computer spill. Even if it still seems to be working fine, don’t wait; electricity and water don’t mix well. Holding down the power button for about 5 seconds should do the trick. If it’s still plugged in, make sure to carefully unplug it. You don’t want to risk causing a short.
Step 2: Unplug All External Devices
If you’ve got anything else plugged into your laptop—USB drives, chargers, a mouse—disconnect them, too. You don’t want any more liquid sneaking into those ports or damaging your accessories from a computer spill.
Step 3: Remove the Battery (If Possible)
Now, if your laptop has a removable battery, go ahead and take that out. Not all modern laptops have easy-to-remove batteries, but if yours does, removing it cuts off any chance of electrical current still running through the laptop.
Step 4: Flip It Upside Down
This one’s simple but crucial: carefully flip your laptop upside down after a computer spill and let the liquid drain out. Let gravity do some of the work for you. Keep it in that position so that water doesn’t seep further into your laptop’s delicate internals.
Step 5: Dry Off What You Can
Now, grab a lint-free cloth or paper towels and start gently dabbing the liquid off the surfaces. Be careful not to rub too hard or press down—you don’t want to push the liquid further into the machine. Focus on the keyboard, trackpad, vents, and any ports where liquid might have entered from the computer spill.
Step 6: Be Patient—Let It Dry
I know it’s tempting to try and turn your laptop back on right away to see if it works, but you’ll need to let it dry for at least 24 to 48 hours. Put it in a warm (not hot) place with good ventilation, and avoid using hairdryers or other heat sources. If you’ve got a fan handy, that can help speed up the process. Don’t do the rice trick when you encounter a computer spill—it can actually cause more issues than it solves, especially if grains get stuck in the ports.
Step 7: Consider Opening It Up (If You’re Comfortable)
If you’re feeling confident and you know your way around the inside of a laptop, you can open it up to help things dry faster after a spill. Removing components like the RAM or the storage drive can also help prevent any potential corrosion. If you’re not comfortable doing this yourself, no worries—it’s better to leave it to a pro than risk causing more damage.
Step 8: Take It to a Professional
Finally, once the laptop has had time to dry, you’ll want to have it checked out by a professional. Even if it powers back on, there could still be hidden damage inside—especially corrosion on the motherboard or other delicate parts. I’ve seen laptops that seem fine at first but fail later due to undetected moisture. A quick check-up can prevent more serious issues down the road, and if necessary, I can help recover your data.
Wrapping It Up: Don’t Let a Computer Spill Get You Down
At the end of the day, liquid spills happen, but acting quickly and taking the right steps can make all the difference. If you ever find yourself unsure or uncomfortable with the process, don’t hesitate to bring your laptop to a professional. Here at Steve’s Computer Repair I’m here to help, whether it’s drying out the insides, recovering your data, or performing more involved repairs from a computer spill. Sometimes, leaving it to a professional is the best way to ensure your laptop (and your data) stays in good shape. Call (210) 241-2054 now and speak to a local technician.